- Part 1: Architecture & Strategy
- Part 2: Installing Proxmox VE on ZFS Properly
- Part 3: Running PBS in a VM on Your Main PC
- Part 4: Automated ZFS Snapshots with Sanoid
- Part 5: ZFS Replication Using Syncoid
- Part 6: Backing Up VMs to Proxmox Backup Server
- Part 7: Telegram Notifications for PVE & PBS
- Part 8: Full Backup Automation Scripts
- Part 9: Disaster Recovery Simulation
In Part 1, we designed a complete enterprise-style backup architecture for homelabs using:
- ZFS snapshots
- Syncoid replication
- Proxmox Backup Server
- Automated monitoring
Now it’s time to build the foundation that makes all of this possible.
And here’s something many guides get wrong:
Not all storage in a Proxmox system should be ZFS.
A well-designed homelab separates performance storage from capacity storage.
Today we’ll build a professional, real-world layout:
- Proxmox OS + VMs on fast SSD
- Large ZFS mirror (2× 8TB HDD) for data & backup storage
- Optimized for performance AND reliability
This is one of the most practical and balanced setups you can run.
Why You Should Separate VM Storage from Data Storage
Many users try to put everything on one storage pool.
This leads to problems like:
- Slow VM performance
- Storage running out quickly
- Expensive SSDs wasted on bulk data
- Difficult backup organization
A smarter approach is to split storage by purpose.
Two Types of Storage in Proxmox
Performance Storage (SSD)
Used for:
- Proxmox system
- Virtual machines
- Containers
Requires:
- Fast IOPS
- Low latency
Capacity Storage (ZFS HDD Mirror)
Used for:
- Large datasets
- Backups
- Media files
- Snapshot archives
- Replication targets
Requires:
- Reliability
- Redundancy
- Large capacity
Why This Layout is Ideal
This setup gives you the best of both worlds:
| Benefit | Result |
|---|---|
| SSD speed | Fast VM performance |
| HDD mirror | Reliable data storage |
| ZFS snapshots | Safe rollback |
| Lower cost | HDDs are cheaper per TB |
It’s exactly how many production virtualization environments are designed.
Hardware Layout We Will Build
Here is the target architecture.
SSD Storage (Primary Storage)
Contains:
- Proxmox OS
- VM disks
- Containers
Typical size:
500GB – 2TB SSD
Why SSD is critical for VMs:
Virtual machines perform many small random reads/writes.
HDDs cannot handle this efficiently.
SSD ensures:
- Faster boot times
- Smooth VM operation
- Better responsiveness
ZFS Mirror Storage (2× 8TB HDD)
Configuration:
ZFS Mirror
2 × 8TB HDD
Used for:
- VM backups
- Large datasets
- Snapshot storage
- Replication targets
- File servers
This provides:
✔ Disk redundancy
✔ High data integrity
✔ Huge storage capacity
✔ Perfect backup destination
Why ZFS is Perfect for Data Storage
ZFS excels at protecting important data, especially large datasets.
Here’s why it’s ideal for this role.
1. End-to-End Data Integrity
Every block stored in ZFS has a checksum.
This means:
- Silent corruption is detected automatically
- Bad sectors don’t go unnoticed
- Data is verified every time it’s read
Traditional filesystems cannot do this.
2. Self-Healing Protection
In a mirror configuration:
If corruption is detected:
👉 ZFS automatically repairs it using the healthy disk.
This makes it extremely reliable for long-term storage.
3. Instant Snapshots
ZFS snapshots are:
- Instant
- Space-efficient
- Safe
They allow:
- Recovering deleted files
- Rolling back mistakes
- Automated snapshot retention with Sanoid
4. Efficient Replication
ZFS enables incremental replication:
- Only changed data is sent
- Very bandwidth efficient
- Perfect for backup workflows
Step-by-Step Installation Guide
Let’s build this architecture correctly.
Step 1 — Install Proxmox on the SSD Using LVM-Thin
Boot from the Proxmox ISO.
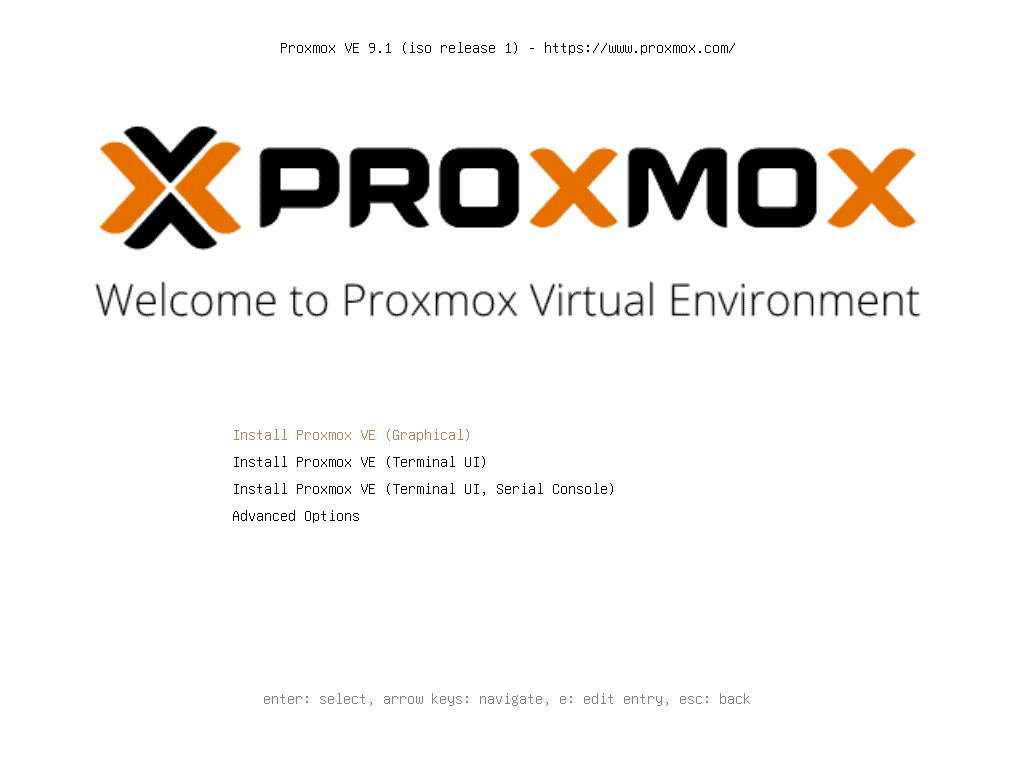
When selecting the installation disk:
👉 Choose ONLY the SSD.
Filesystem choice:
EXT4 (default) is recommended
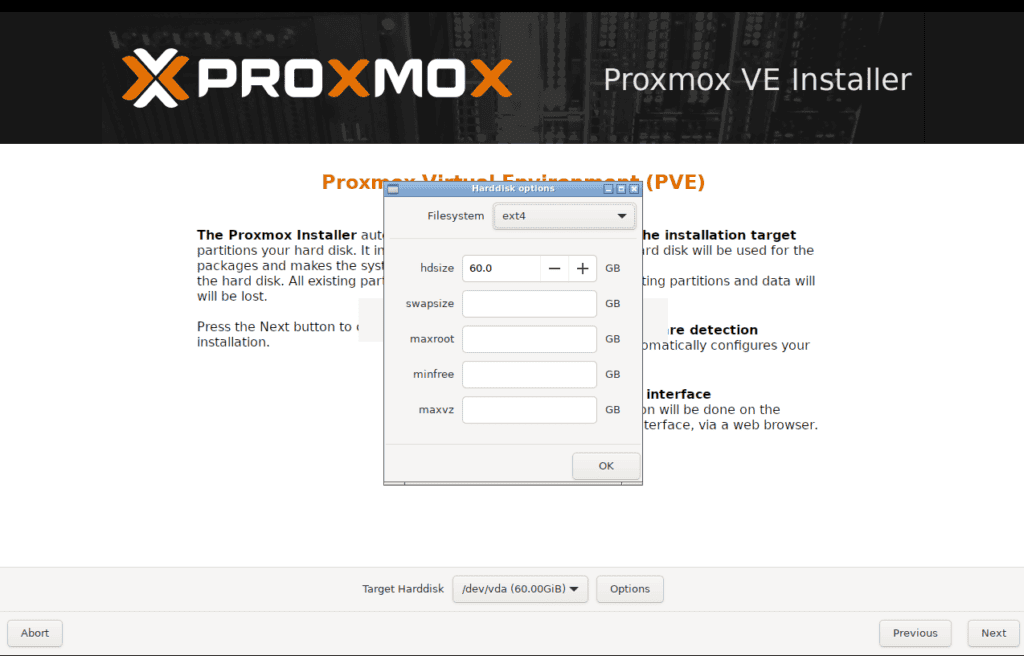
Why EXT4 is fine here:
- Simpler management
- Lower RAM usage
- Faster updates
- No need for ZFS features on system disk
It is advised that you configure static IP for the Proxmox server:
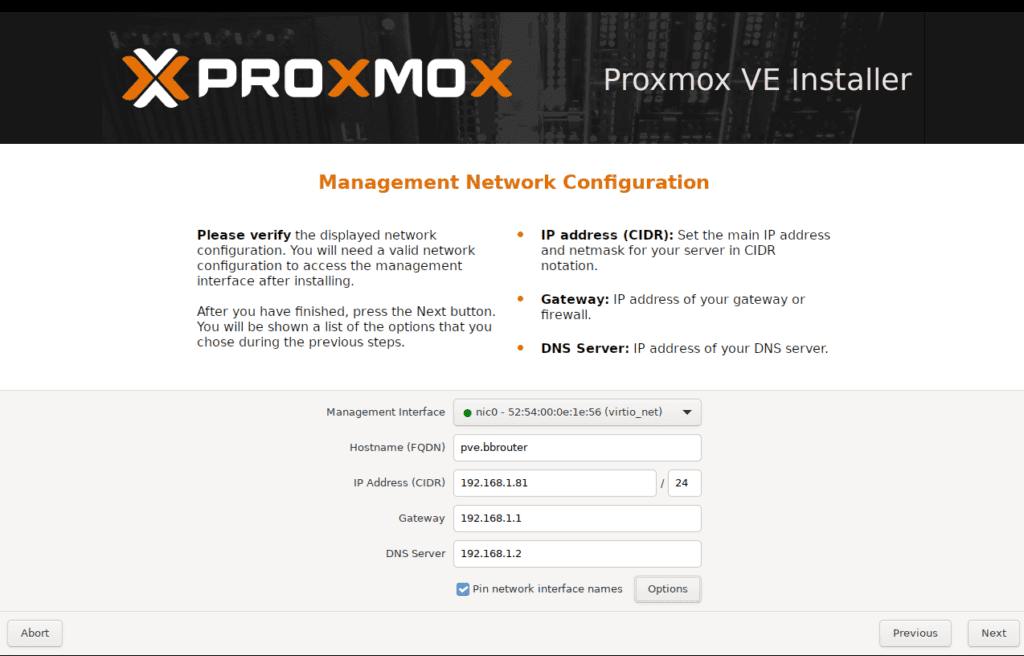
Personally, I configured my router to preserve 1-99 for static IPs and 100-254 for DHCP.
Also it is adviced to use some DNS server for easy access, I use pi.hole to define local DNS.
Complete installation normally.
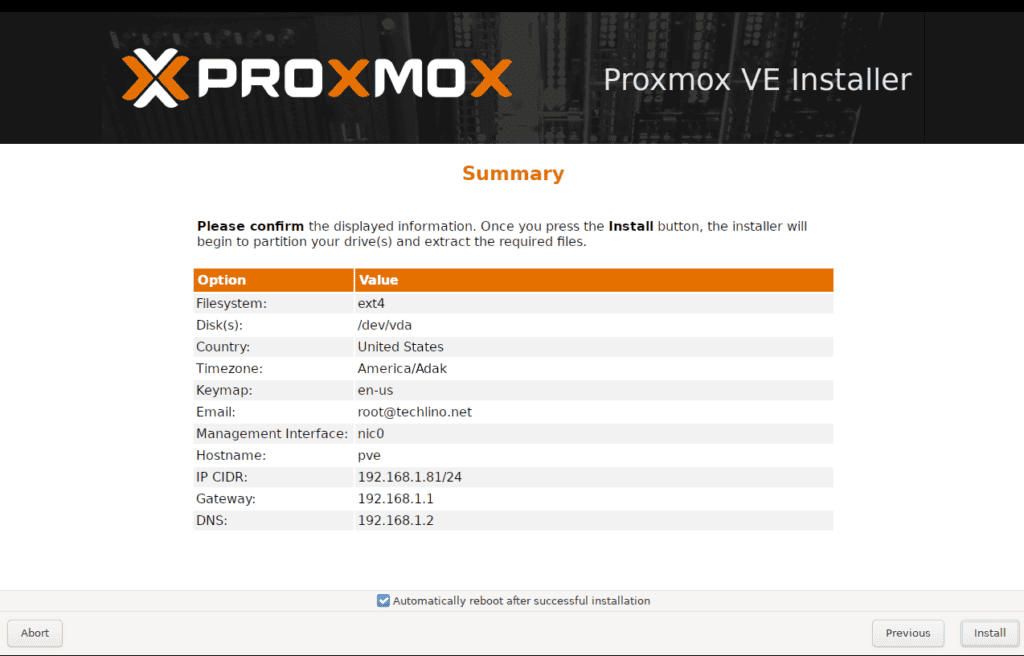
After reboot, access:
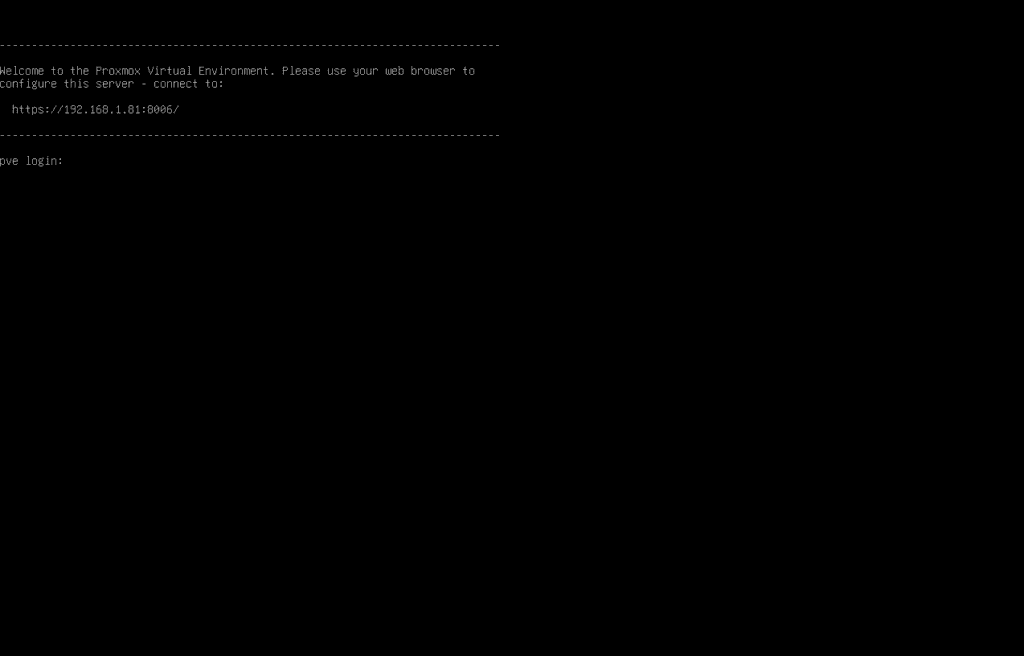
https://YOUR_SERVER_IP:8006
Step 2 — Configure SSD Storage for VMs
By default, Proxmox creates:
local-lvm
This is where VMs will be stored.
This is perfect because:
- It uses the SSD
- Provides excellent performance
- Supports snapshots via LVM-thin
No changes are needed here.
Your VMs will run on fast SSD storage.
Step 3 — Create the ZFS Mirror for Data Storage
Now we configure the HDD mirror.
Navigate to:
Datacenter → Node → Disks → ZFS
Click:
Create: ZFS
Configure the Pool
Name:
tank
RAID Level:
Mirror
Select Disks:
Choose your two 8TB HDDs.
Recommended Options:
| Setting | Value |
|---|---|
| ashift | 12 |
| compression | lz4 |
| atime | off |
These settings optimize performance and disk lifespan.
Click:
Create
Your ZFS mirror is now active.
Step 4 — Add ZFS Storage to Proxmox
Go to:
Datacenter → Storage → Add → ZFS
Configure:
ID:
zfs-data
Pool:
tank
Content:
Select:
✔ ISO Images
✔ Backup
Click:
Add
Now Proxmox can use the ZFS mirror for data and backups.
Verifying the ZFS Pool
SSH into your server and run:
zpool status
You should see:
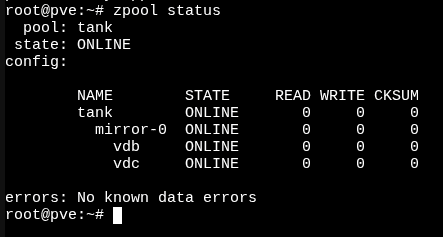
This confirms the mirror is working correctly.
How This Fits Into Our Backup Architecture
This storage layout perfectly supports our multi-layer backup strategy.
Layer 1 — ZFS Snapshots
Protects:
- File deletion
- Data corruption
- Human mistakes
Layer 2 — ZFS Replication
Syncoid will replicate snapshots to:
- Another server
- Backup location
Layer 3 — Proxmox Backup Server
PBS will store:
- VM backups from SSD storage
- Deduplicated archives
- Disaster recovery images
Common Mistakes to Avoid
Here are some real-world lessons.
Running VMs on HDDs
This causes:
- Slow performance
- High latency
- Poor user experience
Always run VMs on SSD.
Using single-disk ZFS pools
No redundancy = no protection.
Always use mirrors.
Storing backups on the same disk as VMs
A disk failure would destroy both.
Keep them separated.
Ignoring ZFS tuning options
Always enable compression.
What We’ll Build Next
Now that storage is properly designed, we’re ready for automation.
In Part 3, we will configure:
Proxmox Backup Server on Your Main PC Using Virt-Manager
You’ll learn:
- Why Off-Host PBS Matters
- Hardware & Storage Planning
- Virt-Manager Setup
Final Thoughts
Separating SSD performance storage from ZFS data storage is one of the smartest design decisions for a Proxmox homelab.
With this setup:
- VMs run fast on SSD
- Data is protected on ZFS mirror
- Backup workflows are clean and reliable
You’re not just running Proxmox anymore.
You’re running a proper storage architecture.
Next Article:
Running Proxmox Backup Server on Your Main PC Using Virt-Manager (Off-Host PBS Setup)
- Part 1: Architecture & Strategy
- Part 2: Installing Proxmox VE on ZFS Properly
- Part 3: Running PBS in a VM on Your Main PC
- Part 4: Automated ZFS Snapshots with Sanoid
- Part 5: ZFS Replication Using Syncoid
- Part 6: Backing Up VMs to Proxmox Backup Server
- Part 7: Telegram Notifications for PVE & PBS
- Part 8: Full Backup Automation Scripts
- Part 9: Disaster Recovery Simulation
Mohammad Dahamshi is a skilled Embedded Software Engineer and web developer. With experience in C/C++, Linux, WordPress, and DevOps tools, he helps businesses solve technical challenges and build reliable digital solutions. Fluent in Arabic, Hebrew, and English, he also runs Saratec, offering web design and digital marketing services.
[…] Installing Proxmox VE with a ZFS-optimized storage layout. […]
[…] If you haven’t installed Proxmox yet, download the latest ISO from proxmox.com and do a clean install. The setup wizard is […]