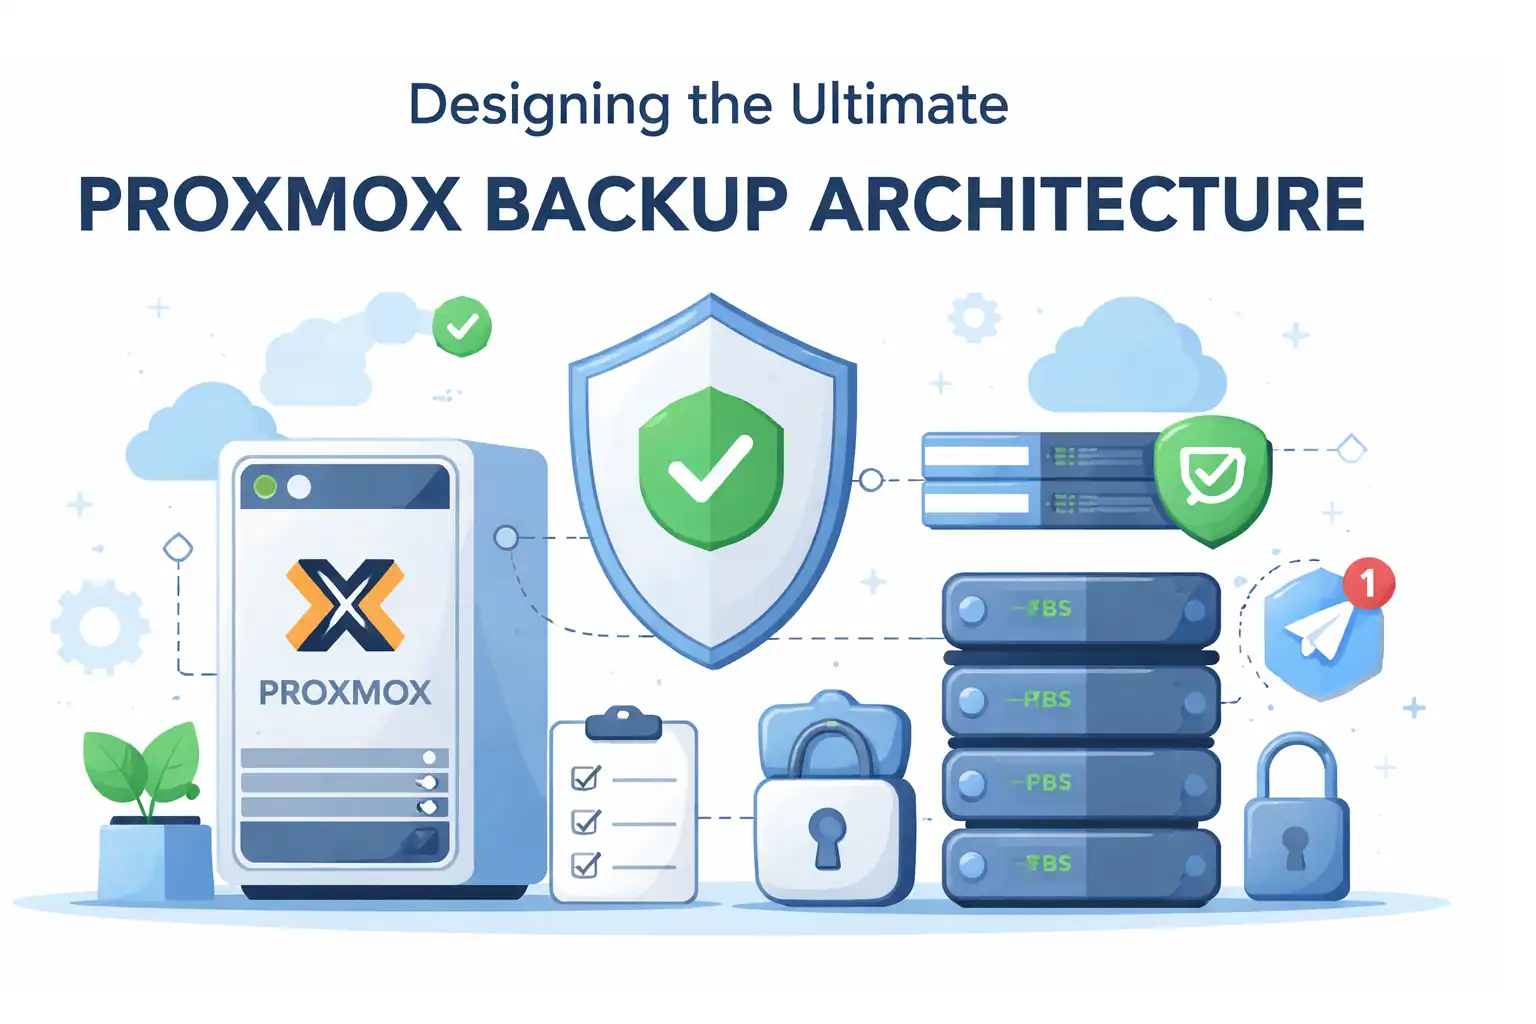
- Part 1: Architecture & Strategy
- Part 2: Installing Proxmox VE on ZFS Properly
- Part 3: Running PBS in a VM on Your Main PC
- Part 4: Automated ZFS Snapshots with Sanoid
- Part 5: ZFS Replication Using Syncoid
- Part 6: Backing Up VMs to Proxmox Backup Server
- Part 7: Telegram Notifications for PVE & PBS
- Part 8: Full Backup Automation Scripts
- Part 9: Disaster Recovery Simulation
For a long time, I thought my homelab backups were solid.
I had scheduled jobs.
I had green checkmarks.
Everything looked clean in the Proxmox UI.
And honestly? I felt pretty confident.
Until one night I asked myself a simple question:
“What happens if my main server dies completely?”
Not just a disk failure.
Not just a VM crash.
I mean total hardware failure.
That’s when it hit me — my “backup system” wasn’t really a backup system at all.
It was just copies living in the same place.
If that server went down, everything would disappear together, my photos, videos, documents.
That realization is what pushed me to redesign my entire backup strategy from scratch.
Why Most Homelab Backups Aren’t Real Backups
This is something I see all the time in forums:
People say:
“I have nightly backups to another disk.”
But that’s not really protection.
Because the biggest risks in a homelab aren’t just file corruption.
They’re things like:
- Hardware failure
- Power issues
- Accidental deletion
- Bad updates
- Users Mistakes (this one happens a lot 😅)
If your backups live in the same physical machine, they’re vulnerable to the exact same risks.
And that’s basically when I realized:
A proper backup setup needs multiple layers, not just one tool.
The Idea Behind My Setup
Instead of relying on a single solution, I started thinking about it like a safety net.
Each layer should protect against a different type of failure.
So I ended up with three main layers:
Local Snapshots (Fast Recovery)
This is the “oops layer.”
If I mess something up — delete files, break a VM, or make a bad configuration change — I want instant rollback.
ZFS snapshots are perfect for this.
They’re fast, lightweight, and don’t require extra storage space like traditional backups.
Honestly, this alone has saved me more times than I can count.
Remote Backup Server (Real Backup)
This is where Proxmox Backup Server comes in.
I run PBS on a separate physical machine.
Not the same host.
A completely separate box.
Because if the main node fails, I still want my backups alive somewhere else.
This layer protects against:
- Disk failure
- Host corruption
- Accidental VM deletion
- System crashes
It’s basically the backbone of the entire setup.
Off-Server Replication (Disaster Protection)
This is the layer most people skip.
And honestly, I skipped it too at first.
But after thinking about worst-case scenarios (fire, power surge, total hardware loss), I realized I needed something beyond just backups.
That’s where ZFS replication with Syncoid comes in.
It sends snapshots to another storage location automatically, incrementally, so if your app didn’t upload a picture that night, syncoid will finish in seconds!
Why This Setup Works So Well
What I like about this design is that it doesn’t rely on a single “magic solution.”
Each layer solves a different problem:
- Snapshots → fast rollback
- PBS → reliable backups
- Replication → disaster recovery
Together, they create something that actually feels resilient.
Not perfect.
But realistically safe.
And in a homelab, that’s what matters.
What Surprised Me After Running This
After months of running this architecture, a few things stood out:
- ZFS snapshots ended up being the most used feature (very fast)
- PBS compression saved way more space than I expected
- Syncoid replication was much easier to automate than I thought
The biggest surprise?
Once everything was automated, the system basically ran itself.
No daily babysitting.
Just occasional monitoring.
Who This Setup Is For
This isn’t meant for enterprise environments.
It’s designed for people like:
- Homelab enthusiasts
- Self-hosters
- Proxmox users with real data
- Anyone tired of “hope-based backups”
If your lab hosts things you actually care about — family photos, projects, servers, or business services — this kind of layered approach makes a huge difference.
Final Thoughts
Looking back, the biggest mistake I made early on was thinking backups were just about running a scheduled job.
They’re not.
They’re about thinking through failure scenarios.
Once you start asking:
“What if this entire machine disappears?”
You naturally end up designing something much stronger.
And that’s exactly what this architecture does.
Next Step
In the next guide, we’ll start from the ground up:
Installing Proxmox VE with a ZFS-optimized storage layout.
- Part 1: Architecture & Strategy
- Part 2: Installing Proxmox VE on ZFS Properly
- Part 3: Running PBS in a VM on Your Main PC
- Part 4: Automated ZFS Snapshots with Sanoid
- Part 5: ZFS Replication Using Syncoid
- Part 6: Backing Up VMs to Proxmox Backup Server
- Part 7: Telegram Notifications for PVE & PBS
- Part 8: Full Backup Automation Scripts
- Part 9: Disaster Recovery Simulation
Mohammad Dahamshi is a skilled Embedded Software Engineer and web developer. With experience in C/C++, Linux, WordPress, and DevOps tools, he helps businesses solve technical challenges and build reliable digital solutions. Fluent in Arabic, Hebrew, and English, he also runs Saratec, offering web design and digital marketing services.
[…] Part of the Ultimate Proxmox Backup Architecture Series […]
[…] built a full 9-part series on techlino.net that walks you through exactly that — starting from backup architecture […]